Wednesday, November 21, 2012

Draping! Continued...

1930's Drape:

Continuing with some 'speed' draping, here is my 1930's drape, based off of a Sears catalog illustration. I started by taping the form and indicating the main style lines. I then did some research and decided how best to approach everything. I had a hard time finding other examples, but I worked with my draping books and figured it out as best I could! I started with the skirt -- straight of grain is at the center front. I worked my way around the waist, letting the skirt flare out as needed and indicated by the illustration. There are no waist darts, or darts in the bodice as there is just some fullness to it all. The belt/side tie acts to pull everything closer to the waist. The bodice overlaps and ties at the side. There is a nice circle-cut trim along the edge of the collar, which is so neat! I always love how circles can be applied to so many things and work so beautifully! There is also some double collar over-lap action going down, though it's hard to see in the photo.


Sunday, November 11, 2012

Draping!

I spent the first half of my semester working through flat patterning exercises and really learning how to easily manipulate flat patterns, and in turn really learning how to combine flat pattern and draping. Now that it is the second half of the semester we've moved to some 'speed' draping -- basically getting a new rendering or photo each week and having to drape it (in half)...preferably in about 3 -6 hours. The goal is really to just get the shape -- you are handed a rendering and you need to figure out the basic silhouette in three dimensions to show a designer. You also get to do a bit of research to help you along the way. This has been super fun so far! It's great to get back into some draping and starting to really apply all that I have learned to new and different projects. It really all comes down to the same basics...it's just manipulating those basic ideas in order to get the result that you need!

At any rate, so far I have done a drape based on a 1790s fashion illustration and a drape based off of a 1913 walking suit photo. Next week is a dress from 1932 out of a Sears catalog.

1790s Gown


 For this first drape, we were given everything in class -- rendering and research -- and just got started right away....this is what I came up with! I'm happy with how it turned out -- I think proportionally the 'waist' could be pushed up a bit more...at this time it was really pushed right up under the bust. This is when there is a disadvantage to dress forms...they're just not squishy like people! The back waistline too could be a bit higher.

Next is 1913!

Original Garment


 Again, I'm happy with how this one turned out. It was a good challenge! I drafted the bodice pattern (kimono sleeve!) and draped the rest. I think that once again the waist could be just a smidgen higher up...hard to tell because of the size difference in the original and the dress form I am using...but in class we decided that this would help the proportions. I think that the skirt I did too should be a tiny bit narrower...


Wednesday, October 31, 2012

18th Century Gown

Working from the undergarments up, the Julia dress was finally finished! My first 18th century English Robe. I was happy with how everything turned out -- this has definitely been the most challenging project I've had so far! There were lots of things to learn along the way and I know where I would change things next time. As per usual there are always choices to be made and pros and cons for all these choices. It all depends on what you want, your experience, and trial and error.

I chose to put my opening in the front of the bodice. On the plus side, this is more period. It let the back of the garment be completely smooth and free of interruption. At first we thought that the fichu would be covering a lot of the front...in reality, it ended up covering more of the back than the front...but so it goes! On the negative, there was slight gaping in the front -- all of the tension of the bodice was pulling at the hooks in the center front. For a front closure like this, with all the pressure of a tight fitting bodice, I should have constructed it with an under-closure -- something that held all the tension -- so that the outer layer could lie smoothly over it with no tension. It could also have used a stronger flat lining fabric and possibly some more boning, sort of stomacher-like. All this is of course hard to tell from the get-go, especially for a beginner like me...Would the corset be enough to stabilize everything or does it need more? Different body shapes effect this differently as well...but for a first attempt, I think it was pretty good! :) And like I said, I definitely learned a ton!

I cut the skirt in gores which gave it incredible fullness.  At this time skirts were pretty much rectangular in shape, giving a different look than what I achieved. Theatrically however, the skirt was full and had incredible presence. However, it did not have quite the correct shape for the period. Doing the pleating with the gores was also challenging. Again, it all depends on what the garment needs to do, what the designer wants, what it needs to look like on stage....so many factors!


So, to the actual construction. The bodice is flat-lined to cotton backed satin and boned at the seams, center back, and center front. It is piped along the neckline and waistline and along the center back seams. The seams are finished with lace. The actual garment fabric is a green and red silk dupioni -- it looked fabulous under the stage lights! The sleeves are flat-lined with cotton batiste. The skirt is flatlined with silk organza to give is a bit more structure. The over-skirt and underskirt are on the same waistband (which is covered) and open in the back. The hem is serged and cross stitched up.


Saturday, October 13, 2012

18th Century Underthings!

School started off with a bang going into full production for the play, "The Rivals." I created the costume for the character Julia, from the undergarments up -- Petticoat, stays, and bumroll. I can't emphasize how much I learned on this project. I was very happy with how everything turned out and I know where I would change things next time. I'm looking forward to implementing these new found insights in my next project!


I patterned the corset based off of a stays pattern from Corsets and Crinolines. The corset is made of two layers of coutil and 1/4" steel bones. The petticoat is silk taffeta. I patterned the bumroll based on various examples and the shape I was aiming for based on the rendering. The bumroll is made of muslin and stuffed tightly with polyfill. It is attached to the interior of the petticoat undrneath a later of gathered netting to smooth out the transition from bumroll to petticoat...and to give it a little extra poof! The bumroll is attached to the petticoat in an attempt to keep everything together and in the right placement for the actress.

Tuesday, June 26, 2012

Mokuhanga Workshop with Takeda Sensei


The past three days I participated in a Mokuhanga and Mokulito printmaking workshop at Pratt Art Center in Seattle, WA...and it was absolutely fantastic! Takeda Sensei is an amazing artist from Oaxaca, Mexico. He is originally from Japan but has lived in Mexico making and teaching art for the past 50 years! He has recently been implementing a new technique called Mokulito -- a sort of combination of Mokuhanga and Lithography.

Starting from the beginning: Mokuhanga is traditional Japanese woodblock printing. You use many different blocks, each with a different color, to build up an image. We spent the first couple days of the workshop developing 2 - 3 plates in order to practice this technique. We started by printing the base color -- just a solid rectangle of color to act as the first layer. We used guache mixed with a little bit of nori paste (rice glue) and water. The goal was to get a nice transparent color that captures the wood grain and texture of the plate itself.


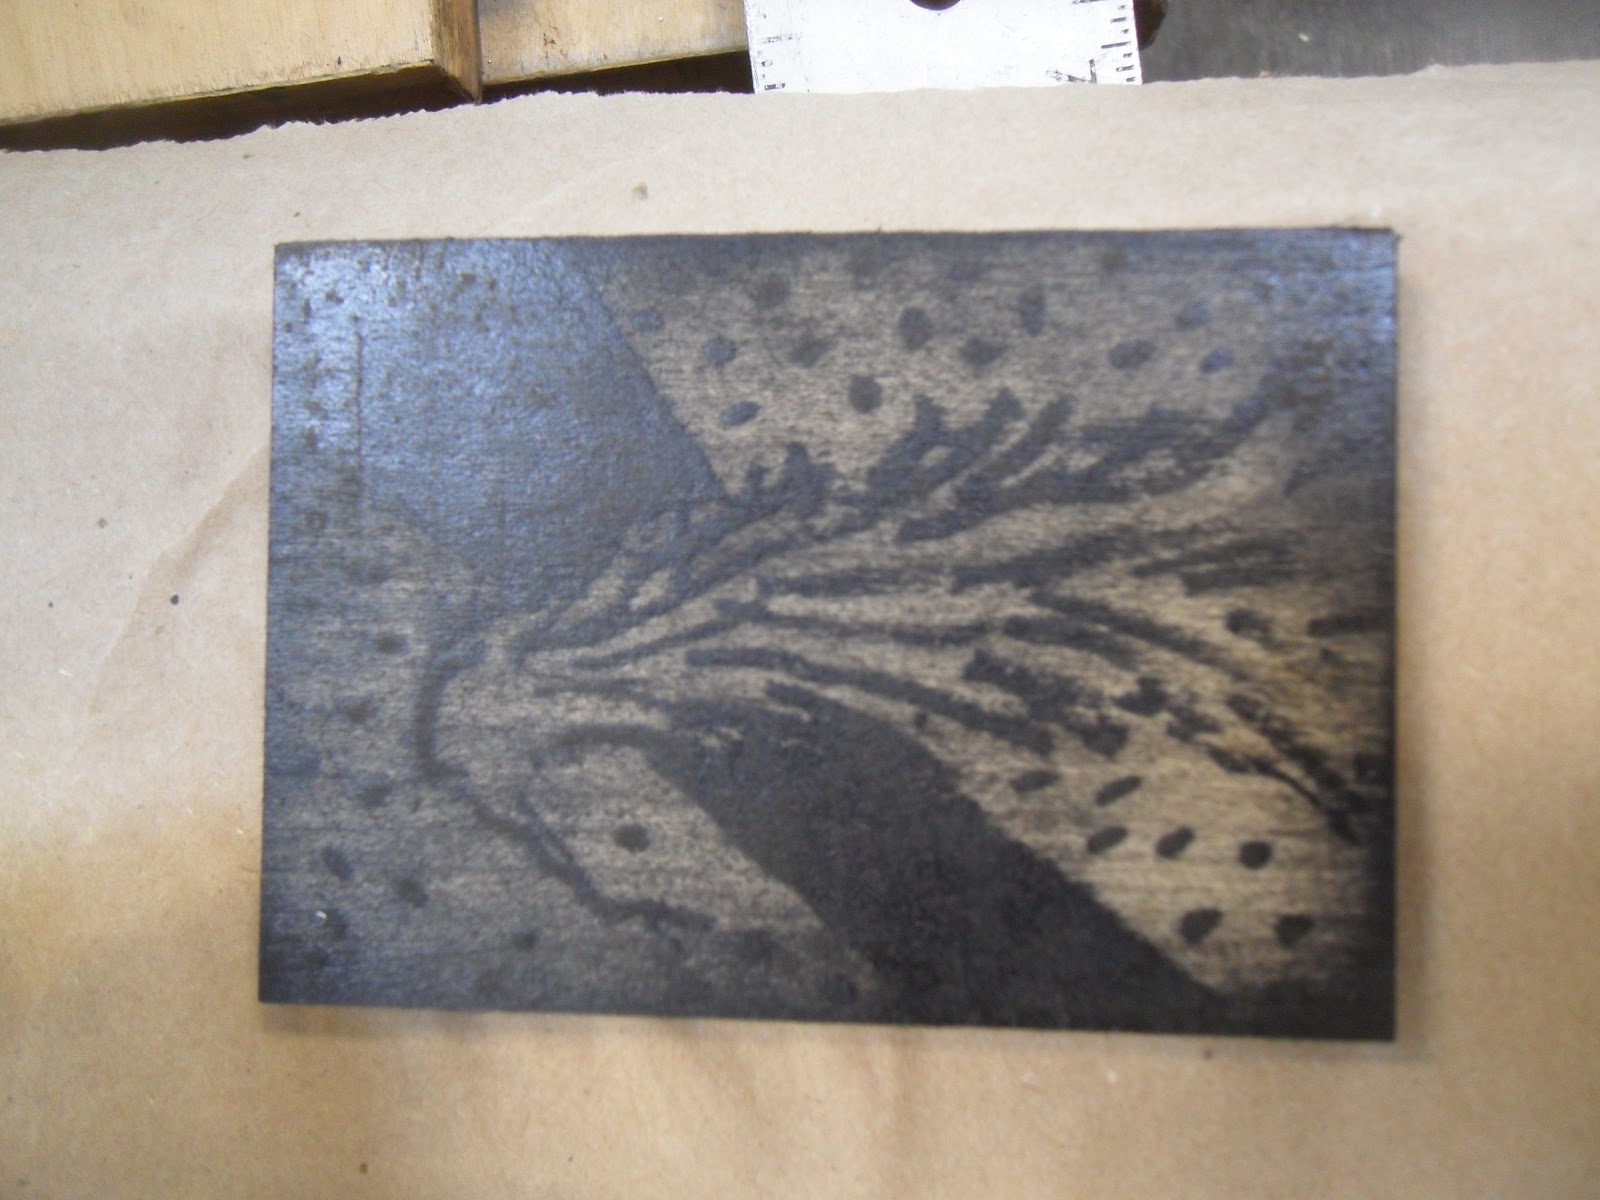
Mokulito is a process that involves using lithography on wood instead of stone or metal. It's pretty much the same process as in traditional lithography except that it is on wood and thus involves some different chemical mixtures. Master Takeda uses this process as the last step on his mokuhanga prints. It's like being able to add a final drawing to a print...the possibilities are mind boggling!

Mokulito test plate.
 I ended up with 8 larger prints and a few small ones that I was just playing around with. I really love mokuhanga -- the process is very sculptural and very fun to do! It's so challenging to think about the layers and really integrating colors effectively...I can see spending a life time exploring the depths of this process!


Master Takeda and group working on Mokulito.

Mokulito test prints.

My mokulito test prints
I am so very thankful that I was able to take part in this workshop! I met some amazing and wonderful artists and got to learn a very rare print making technique with a most wonderful, kind and knowledgeable teacher! ...and I got to practice a little Japanese too! :D

Saturday, May 26, 2012

Friday, May 25, 2012