Tuesday, June 26, 2012

Mokuhanga Workshop with Takeda Sensei


The past three days I participated in a Mokuhanga and Mokulito printmaking workshop at Pratt Art Center in Seattle, WA...and it was absolutely fantastic! Takeda Sensei is an amazing artist from Oaxaca, Mexico. He is originally from Japan but has lived in Mexico making and teaching art for the past 50 years! He has recently been implementing a new technique called Mokulito -- a sort of combination of Mokuhanga and Lithography.

Starting from the beginning: Mokuhanga is traditional Japanese woodblock printing. You use many different blocks, each with a different color, to build up an image. We spent the first couple days of the workshop developing 2 - 3 plates in order to practice this technique. We started by printing the base color -- just a solid rectangle of color to act as the first layer. We used guache mixed with a little bit of nori paste (rice glue) and water. The goal was to get a nice transparent color that captures the wood grain and texture of the plate itself.


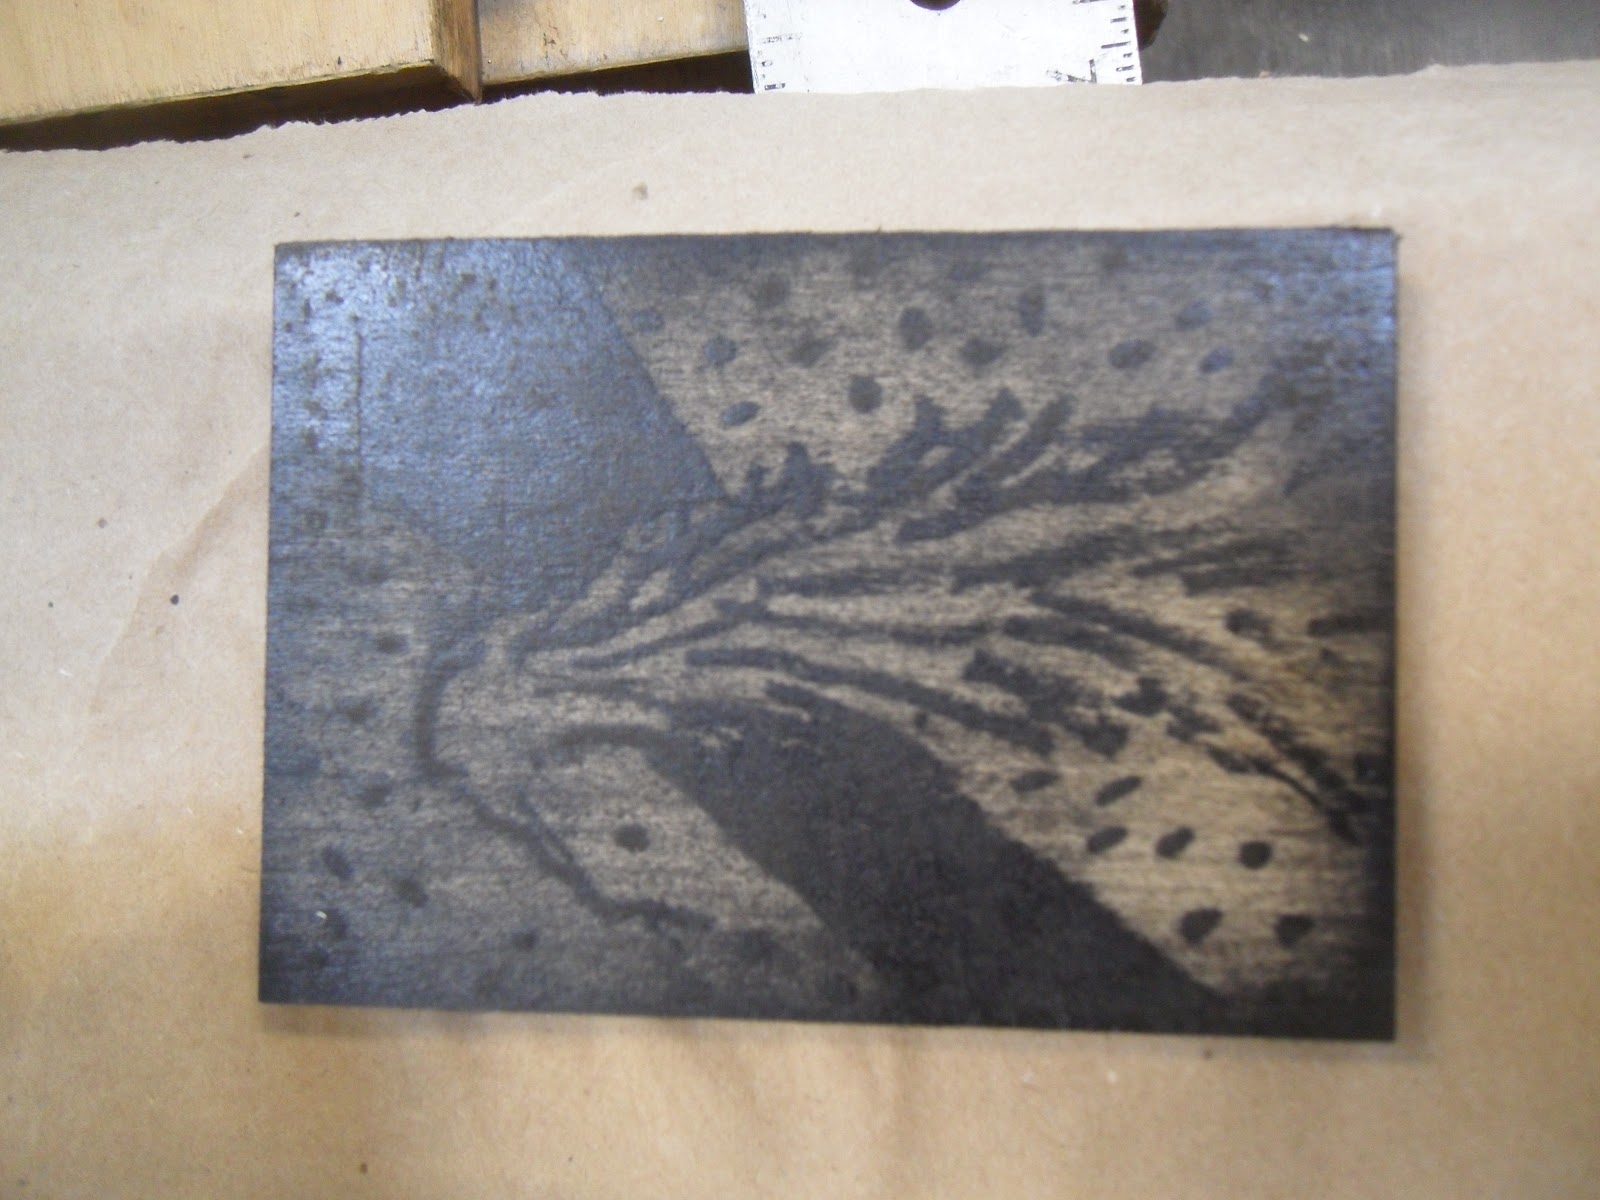
Mokulito is a process that involves using lithography on wood instead of stone or metal. It's pretty much the same process as in traditional lithography except that it is on wood and thus involves some different chemical mixtures. Master Takeda uses this process as the last step on his mokuhanga prints. It's like being able to add a final drawing to a print...the possibilities are mind boggling!

Mokulito test plate.
 I ended up with 8 larger prints and a few small ones that I was just playing around with. I really love mokuhanga -- the process is very sculptural and very fun to do! It's so challenging to think about the layers and really integrating colors effectively...I can see spending a life time exploring the depths of this process!


Master Takeda and group working on Mokulito.

Mokulito test prints.

My mokulito test prints
I am so very thankful that I was able to take part in this workshop! I met some amazing and wonderful artists and got to learn a very rare print making technique with a most wonderful, kind and knowledgeable teacher! ...and I got to practice a little Japanese too! :D

Saturday, May 26, 2012

Friday, May 25, 2012

Saturday, May 19, 2012

Tailoring -- Suit Coat


This was the focus of Tailoring II -- creating a men's suit coat. We started by following the recipe for a pattern called "Young Man's Sac Coat." I drafted my pattern with Matt's measurements. Once I had the patter drafted, I created a canvas mock-up of the jacket and we had the first fitting. Everything went really smoothly -- not many changed to be made. We adjusted the balance of where the jacket falls by opening up the shoulder seam and letting it out a little. Then the collar needed to be lengthened a bit to compensate for that alteration. The sleeves needed to be made narrower. I moved the side dart to the front and we moved the buttons a bit closer together. After all the alterations were made in the pattern, it was time to start creating the actual suit coat. We started with the canvas that goes in the front of the jacket. Basically, you create carefully shaped padding to make that smooth look from the shoulder down. It consists of canvas, felt, and french canvas with a hearty helping of pad stitching (which I find incredibly enjoyable to do!). After the canvas front is constructed you place it with the wool front and baste the two pieces together. These basting stitches do not come out until you are completely done. As you can see on the photos above, all the basting stitches are still there. I didn't quite finish putting the button holes in yet. Anyway, in brief, because this could go on for a while -- The lapels are pad-stitched and taped (with tailor's tape) which helps to create a nice smooth line once you cover everything in the wool. You create the under-collar from felt and collar canvas. These are pad-stitched together in order to create the collar shape. I custom made the shoulder pads -- these are inserted under the wool layer of the jacket but on top of the lining. The back of the jacket has canvas and a single vent. The whole coat is lined. Again, this is a quick, very brief explanation of things, but at least it is the gist of it! 


Thursday, May 17, 2012

Victorian Outfit, Draping Final Project


For my final draping project I draped and constructed an 1870's Victorian outfit based on a rendering. I started as per the usual with a 1/2 muslin mock-up, patterned it and went into my first full muslin mock-up. I mocked up the skirts in the actual fabric because of their quantity and I was fairly confident in their fit. At any rate, I fitted the first mock up, corrected the pattern and mocked up the bodice once again in coutile this time. I could then alter the coutile as need be and go straight into flatlining it with the fashion fabric.  The final bodice is coutile flat lined with the striped cotton.  There are flexible bones at every seam. The bustle and train are lined with a maroon poly-taffeta. Though I didn't completely get to finish everything, the bodice has hand covered buttons and closes with a combination of snaps and hooks. The model is wearing a corset, cage bustle, and petticoat to help create the right shape. These photos are the project in various stages of completion, from the muslin to the fashion fabric.


"Bus Stop" Waitress Uniform

 This is my second production piece for the play "Bus Stop."  The play was placed in the 1950's and kept pretty strictly to period. This was a very challenging assignment for me. I learned how to do a lot of things I hadn't done before -- built in pockets in the skirt, a patch pocket on the bodice, shirt collar with lapels, cuffs, an apron...phew! A lot to be nervous about, but once again, I am happy with how it turned out.

I started with a 1/2 muslin mock up and through a series of conversations with the designer and a few more mock ups we finally arrived at the right silhouette, though it continued to go through many changes. The fittings were difficult but very informative. Every person has a very unique body shape and you have to take this into account. Everything you make, especially with custom costumes, is going to be unique and be very specific to the person. This particular dress has a shoulder pad built into one side and the collar is constructed unevenly so that is falls correctly. It was great to begin to learn how to tackle fitting challenges, though it was definitely daunting and a bit stressful...I'm glad I had to go through it!

Wednesday, May 16, 2012

"Billy The Kid" Red Dress


This is a production project that I made for the play "Billy the Kid." It is based on the rendering to the upper right, designed by Sylvianne Sherman (and used with her permission here -- thank you Sylvianne!). This was the first garment I made for a play at school. I have to admit that I was incredibly nervous. I started with draping a 1/2 muslin mock-up. I then took a pattern off of it and created a full muslin mock-up to be fitted on the actress. After the fitting I went right into the actual fabric and made the dress. Everything went pretty smoothly, thank goodness! I was really pleased with the final product -- the dress looked great on stage and the skirt moved great with the actresses movements! For the final look Sylvianne distressed the dress adding mud spatters and torn edges to complete the wild west look. I thought the distressing looked excellent.

Construction-wise, the bodice is lined with generic red lining. There is an invisible zipper at center back. The hem was left as is because it was later distressed to have a jagged, worn and ripped effect.